Thursday, June 6, 2013

DIY Target Chair Makeover

 
Hello, everyone! I have for you today my recent chair makeover. I got this chair on clearance at Target for $10 (I think it was originally $20, so a pretty good deal) and I've had it for awhile, but now that my room is coming together and the accent colors have pretty much picked themselves (these were not my original accent colors, not even close!), I had to do something with the stark red color.
 
 
The red Target office chair. It sticks out like a sore thumb right now. That's going to change........now.

 
I started by tracing a rough template on paper with a pencil. These were not by any means totally accurate, I just needed something to help me cut out the basic pieces for the covers.
 
 
I cut the back piece on the fold and the seat piece on two folds, so now I have these. Man, are they wrinkled. A quick iron will fix that!

 
I decided to add stripes to the covers, so I snagged two curtain tiebacks (please don't tell my mom) and stitched them in place with white thread.

 
I pinned the whole back piece in place and made adjustments and cuts to fit it in place all the way around. I had to do the top first and then the center bottom, the sides, and then the rest of the bottom.

 
If you are noncommittal like me, you may not want to permanently attach this just yet. I stapled mine in place.

 
The whole cushion stapled in place. I went to bed so I could get a fresh look at it the next day.

 
And if you still like it the next day (I did), remove the staples and pin the cover back in place. Be sure to smooth it out, unlike me.

 
Stitch the cover in place with matching or contrasting thread. I used dark red, so it shows in some spots, but is totally hidden around the stripe.  

 
And once you secure your threads and snip the excess, you now have a chair to be happy to see! Or at least, I am...I have issues.
 
Have a wonderful Thursday!

post signature

Wednesday, June 5, 2013

Shoe Wishlist *Drool List*

Oh man, I saw so many shoes I wanted on Forever 21's website, but I am choosing to feature a few that really caught my eye that I would realistically buy - as in, it's not a random color that wouldn't match anything else.


Polka Dot Wedge Sandals

Striped Boat Shoes

Striped Cap Toe Ballet Flats
 
 
I hope you love these as much as I did! And hopefully you can go buy out and buy them - I'm just window shopping right now and I feel tortured with all of the options at other stores as well!
 
Happy Wardrobe Wednesday!
post signature

Tuesday, June 4, 2013

{DIY} Accent Pieces


Hello, everyone! Today, I am sharing with you a couple of accent pieces I worked on recently. I covered up a box and made it into a tray for my sewing table, and I recovered a brick so it would fit in better on my bookcase!


Here is the "tray" before. Just a boring little ipad mini box. For this mini project (no pun intended), I used scrapbook paper, hot glue, scissors, and some tiny clock embellishments. I cut strips of the scrapbook paper and glued the long sides in place. Then I glued on the short end pieces. Any excess paper is folded to the bottom. Then I hot glued on the little clocks -- I though they added a nice touch -- and placed everything back into the new tray!
 
Isn't this better than seeing ugly words on a stark white box?
 ~~~~~~~~~~~~~~~~~~~~~~~~~~~

Next, I dealt with the brick. This is a very old brick. I used it for a science project back in maybe 3rd or 4th grade. And I'm starting my second year of college in the fall.  So to make it over from the ugly old fabric stuck on it, I grabbed some leftover pillow sham fabric, hot glue, and scissors for the job. I wrapped the brick like a present and instead of taping, I placed beads of hot glue to secure all of it.
When I first pulled the old sunflower fabric off of this brick, I was in shock but not much. The fabric had been on there so long, that the green and yellow from the flowers was dyed into the brick! I couldn't believe it! But I also could. Either way, I'm glad the new fabric is plenty thick enough to hide it easily.
And here is the recovered brick in its new spot. Full disclosure: I took these photos before the walls were painted and the books, brick, and kindle were all moved to the bottom shelf yesterday.  
 
Happy Tuesday!
post signature

Monday, June 3, 2013

{Room Makeover DIY} Memory Board Makeover

I am sharing this post at:
   
 
Hello, All! Today, I wanted to share with you my memory board makeover. It began as a plain ivory ribbon board I picked up at a junk sale a few years ago. I got a rabbit some months after that (who I no longer have, sadly), and she chewed it and possibly urinated on it. So even though I cleaned it the best I could, it’s still horribly stained. So my solution was to cover it with my old Happy Bunny flat sheet and use the parts to my homecoming mum to decorate it. Those of you who have made your own mum know how expensive they are to make -- it's hard to just toss that stuff out! Later on down the road, it began to hold jewelry. Which brings us up to speed to this:

IMG_0724

To makeover my board, I used 3 different types of 3/8 inch ribbon, a stapler, a pillow sham that matches my comforter, pins, scissors, and I had my little box handy to hold my jewelry and such while I worked. You can use hot glue for the assembly if you like, but I was running low on glue sticks and the stapler is faster and more satisfying to use – excellent stress relief!


I started by removing all of the jewelry and hair accessories and placing them off to the side in the little box.

Then, I ripped of the fabric. I was going to remove each piece of ribbon, but I realized I didn’t have to, as it all came away in one piece. Do you see what I mean about the late Daphne now? Plus, the missing ribbon…which I believe she chewed off…it’s funny how this board was used to block her from scratching/chewing my wall, and yet she managed to totally destroy this board AND my carpet!

IMG_0727

I separated the front and back pieces of the sham *carefully* and the whole thing came apart pretty quickly once I started snipping away. I now have some gold piping for whatever and the backing is on its way to the scrap bin! I laid out the large piece and smoothed it out before setting the board on top.

IMG_0728

Now staple, staple, staple! And maybe stop part way down one of the sides to refill your stapler because you forgot to check it before you started….or is that just me?

IMG_0730

To do the corners, I just grabbed the fabric up and put 4 staples over the edges to keep it in place. Then, I took a hammer and tapped over all of the staples to be sure they would stay.

IMG_0732

IMG_0733

Trim away the excess fabric…

IMG_0734

Isn’t it pretty?

IMG_0735

Planning out where to place the hanging jewelry.

IMG_0736

I used gold and mint ribbon to tie into my room’s color scheme. It really looks lovely. I stapled it with about three staples on each end and tapped them down with the hammer as well. I also tapped the staples on the hanging ribbon as I chose to leave it on.

IMG_0737

And here is the little beauty along with some elementary school clay work (wow those are both almost ten years old now…) and a street sign I got from a friend – her grandparents had them in their garage and no longer wanted them. But it looks so cool on my wall!

IMG_0743

But then, I still have my flower I used…I can’t bear to throw it away.

IMG_0739

So I didn’t. I separated it from the other two layers….

IMG_0740

And hot glued it to my lamp! I also added some mint ribbon to it. I got this lamp from Target on clearance for around $6.

IMG_0741

As always, thank you SO MUCH for reading and have a wonderful day! And by the way, I now have NO IDEA what to do with that little window box, but I still want to paint it and use it! Hopefully an idea pops into my brain soon!!

-Natasha.


Room Color Reveal! (Finally)

Hello, Everyone! I hope you are all having a fantastic Monday! I FINALLY have for you not only the final room color, BUT how the room looked when we first moved into the house! So without further ado...
1) (2007) The walls were originally white and there was a giant lighthouse painted on the wall (pictured) and a not-so-cute lighthouse border around the room. There's also a lighthouse pull chain on the ceiling fan that I still have up there today!;
 2) (2007-08) My mom painted the walls pink sometime in 2007-08 after I had switched back to my old room, I'm not sure. I know she did it because she was selling Mary Kay at the time and she wanted a pink room. But then I switched rooms for the final time.
3) (2011) I painted the room the same purple as the room I was in before. It was horrifyingly decorated, but I thought I knew what I was doing.
 4) (2013) The carpet switch that I briefly blogged about before. Ugh.
 5) (2013) I tried painting the walls off white (had it in the garage), but I ran out of paint because I did two coats on two walls without painting the other two walls at all. I know...


And the long-awaited after! I found a gallon of Hot Cocoa paint at Lowes for FIVE BUCKS. HOW did I not know that they had Oops paint for super cheap?! But I forgave myself. Because now I have this beautiful wall color that I LOVE. It looked pink-ish at first, but when I think of the color name I suddenly feel like I am staring into a nice hot mug of it, right on the walls.


 Another view of the wall color, and my new office area! Can you guess which cute décor items are upcoming tutorials? I will say that the one tomorrow can't be seen because it's on the bottom shelf of the bookcase!


post signature

Saturday, June 1, 2013

Hello, June!!


Yes, dear readers, I was able to stick to my original editorial calendar and start fresh with the month of June! This new laptop is a DREAM to work with already! Windows 8 is amazing, and the interface is so slick and beautiful.

So what can you expect this month? Well, a lot has changed in my room and I have several new projects to share. You can see there are some changes to the look of the blog! I really like it, and I'm glad I have the limited knowledge of graphic design that I do have.

I attempted to write out my tentative calendar for the month on a dry erase board, but it quickly turned into a mess! Smudges all over and I changed things around a few too many times. But I did find a system that seems to be working so far - the usual Blogger Binder. I do have a tutorial coming on how I did mine and I will include the links to some of the pages I used! There will also be a brief summary of how some of my custom pages were made, if anyone needs that. But this month is so exciting already, I can't wait for you to see what I have for you!

And for reference:

Mondays - General Topics
Tuesdays - Tutorials
Wednesdays - Budget Fashion
Thursdays - Tutorials
Fridays - Foodie Fridays (again!)

*Fingers crossed that I can stick to it!*

post signature

Tuesday, May 28, 2013

Two more days...

We have tracking information! My laptop shipped from CHINA on Friday. It's supposed to be here on Thursday, so in two days' time, and I am SO EXCITED!!! I'm still writing out blog posts and taking photos, and it will definitely be a bit of a game to see how it plays out. I love that I am still able to do little posts, but it stinks to not have photos available.

But I promise you, there are so many new things coming in the next few months. After all, I have a backlog of blog posts to write for you! I will be adding a "Projects" page so that you can easily access everything. Yes, I know the Pinterest links aren't going to the correct place. I keep forgetting to do that...

I have been grateful to have access to another computer during this time while I wait for my new one to arrive and being able to keep you guys updated. And since you have been patient and emailing me and still reading my blog throughout this little setback, I will tease you with a photo from my room! Also, a sneak peak at a fashion DIY project that will be featured on here next month.


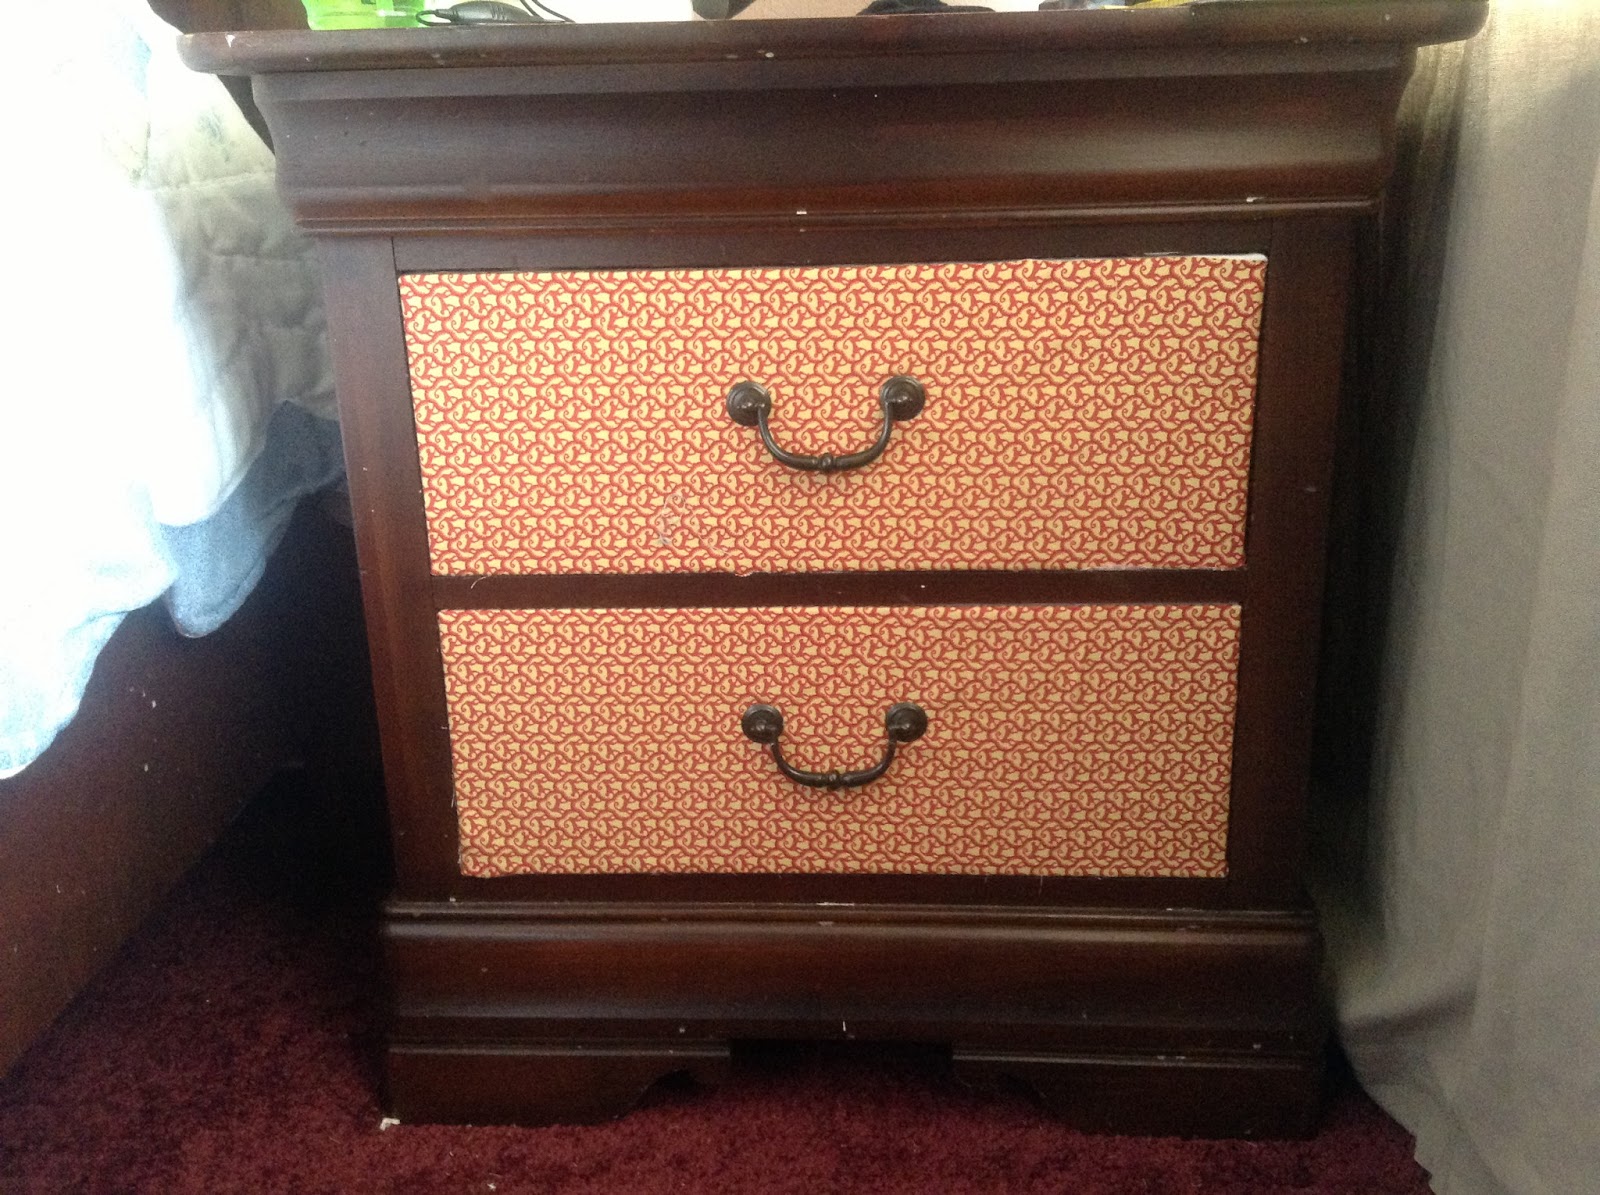
I switched out the fabric on my nightstand. Tutorial is coming!! P.S. Don't you just love how the new curtains hide the new paint color? That's still a surprise!! :)
Oooh wonder what this could be? :) 


Thanks so much for your patience!! 
Natasha.